The URBiNAT project uses a range of participatory practices to engage citizens in the process of mapping out and, subsequently, co-planning and implementing Healthy Corridors in their neighbourhoods. The following text is derived from extensive studies (co-diagnoses) that were carried out of the three URBiNAT Frontrunner cities, Porto, Nantes and Sofia during the first 18 months of the project. The full report can be accessed here:
D2.1: Local Diagnostic Report for each Frontrunner City
This report describes the variables explored in the first and second stage of the Local Diagnostic. In the first stage, it is requested that the cities provide secondary information of use to framing their specific relevant conditions. Such information will be helpful for further identifying the location and wider context for the implementation of healthy corridors, with the prospect of enabling real improvement of the quality of life for citizens.
A walkthrough is a participatory methodology that can be applied for both co-diagnostic and co-selection phases, in two connected phases.
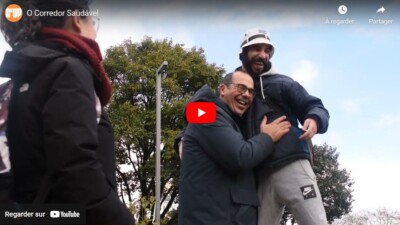
For the co-diagnostic phase (phase 1) the walkthrough is a “focus group in situ”, that is a method of analysis that combines observation with an interview simultaneously. It creates an accepting environment that puts a small number of participants at ease allowing they to thoughtfully answer questions in their own words and add meaning to their answers, allowing the evaluation of negative and positive aspects of the analyzed environments.
It also allows identifying the residents’ perception of the place where they live. In this technique, residents are invited to appropriate the neighbourhood and evaluate the territory, its inadequacies, surplus or missing furniture, barriers and potentialities, among other important elements. This technique dispenses with the verbal formalization of concepts so it can be applied with groups with difficulties for verbal constructions of concepts.
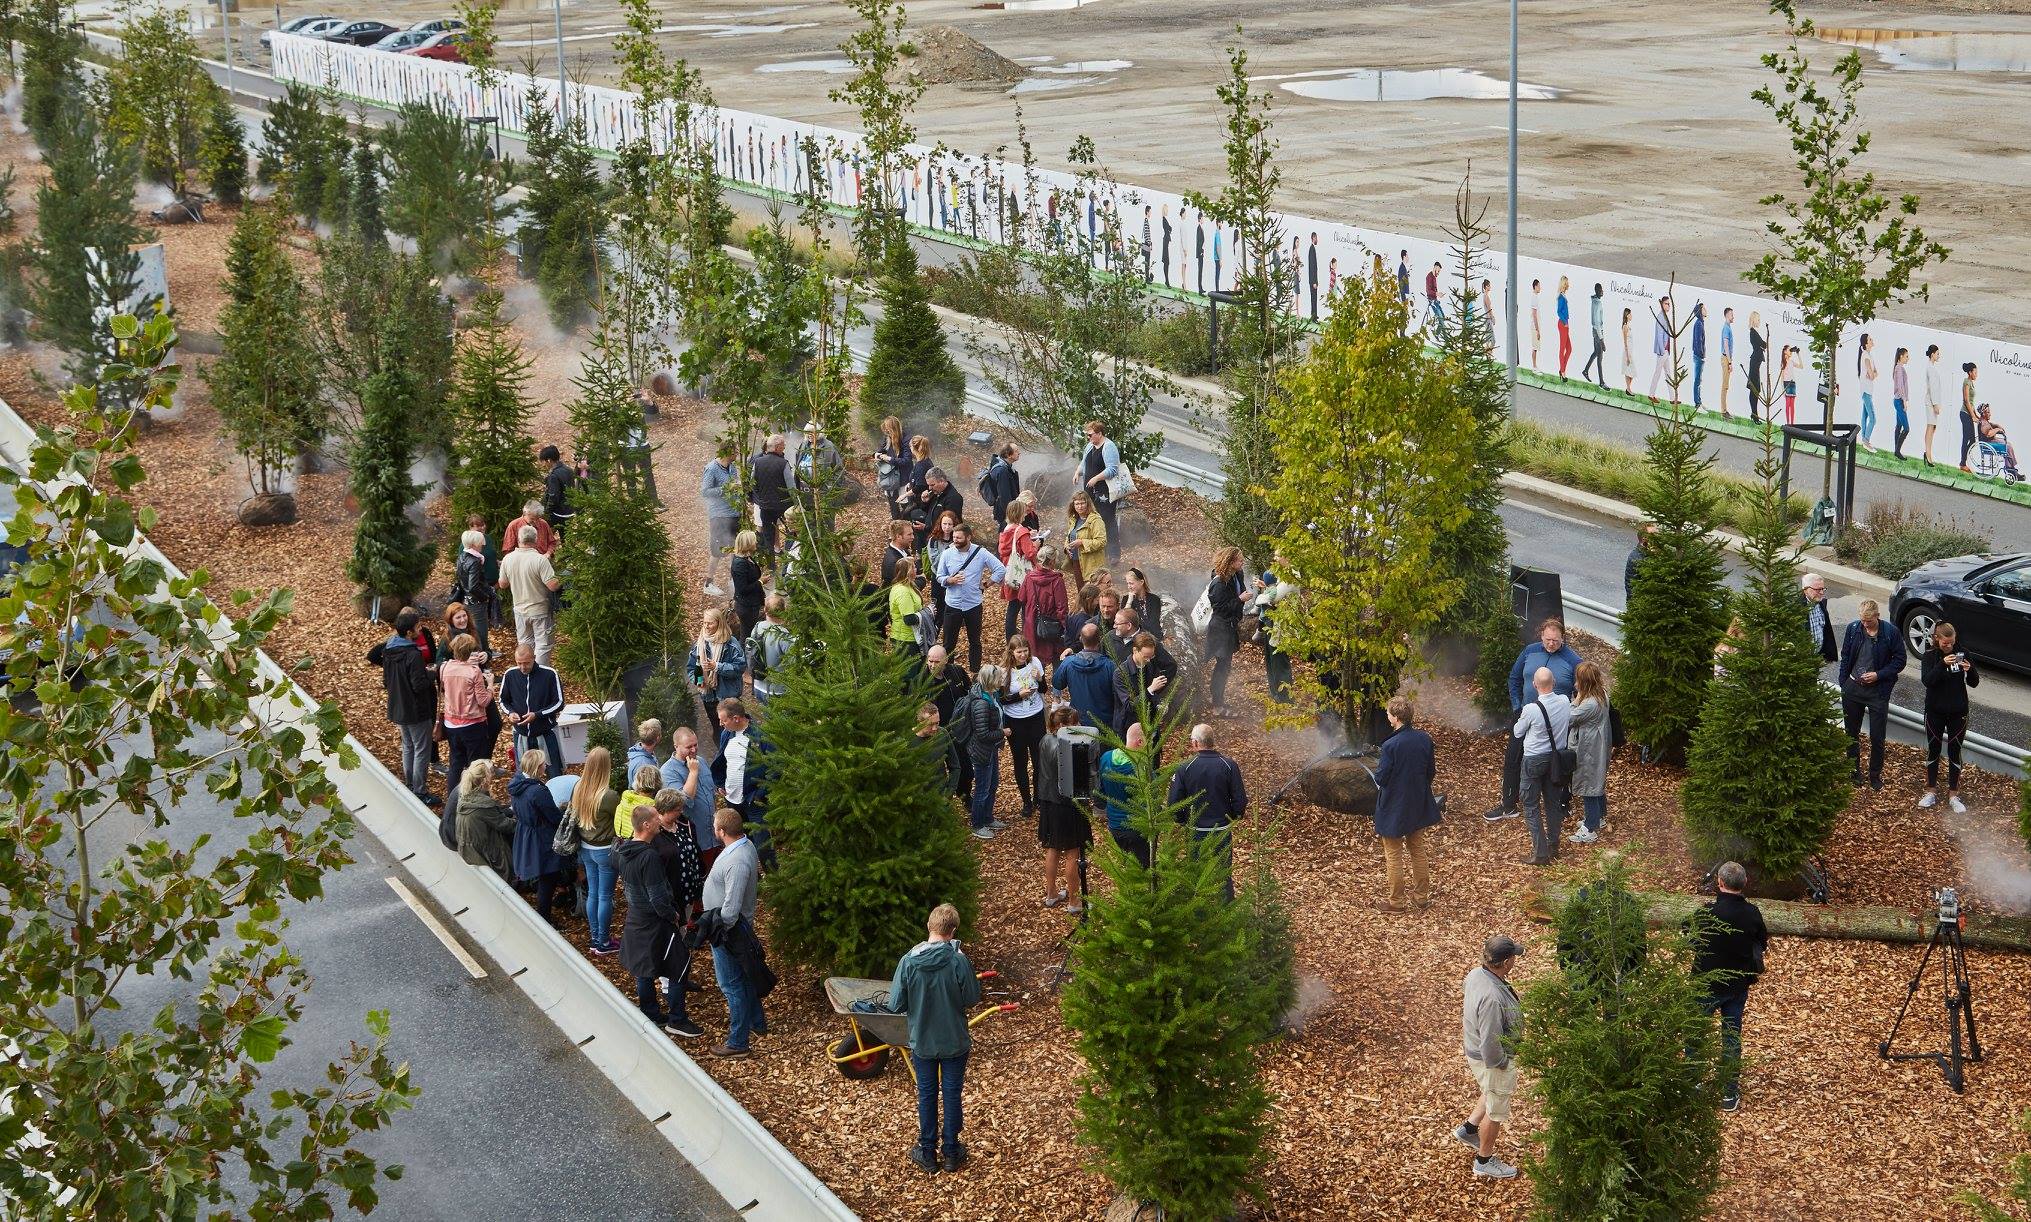
For the co-selection (phase 2), the walkthrough is also called “NBS in situ” and combines walking around in the intervention area with a visioning participatory methodology. For applying this phase, you have had collected information about positive and negative aspects and deep insights about values and attitudes in the intervention area. It can be done applying phase 1 for the walkthrough or another participatory methodology for diagnostics, such as cultural mapping. But it is important to point out, you should not apply the phase 2 without a previous co-diagnostic and a previous NBS presentation (see the next topic “important recommendations).
The NBS in situ applies a visioning methodology while walking in the intervention area. The use of a non-static visioning activity allows the residents to better identify the most suitable NBS for a specific place, considering the territory and doing a scenario evaluation.
It is a valuable resource to be used to develop with the citizens a shared vision to promote short, medium or long term interventions, and also allow integrating multiple visions from 52
different stakeholders. It results in a “shared commitment to a future vision and an energised team focused on what needs to be done to achieve that vision.”
Implementation for the co-diagnostic phase
Step 1 – Before the walkthrough
- Define the conduct of the researchers (see the role of the researcher);
- Prepare a work plan that explains who does what, when and where (eg which researcher conducts the questions and who is responsible for the photographs);
- Define whether the group will take researchers onsite spontaneously or whether the visit will be guided by questions from the researcher’s questions;
- In the latter case, define the places to be visited and the questionnaire to be applied;
- Search on the place to be visited to help in the elaboration of the questions, in the contextualization and – perception of residentes’ emotions and feelings;
- Groups up to 10 people;
- Define the time the visit may take;
- Check to visit limitations and impediments (dates, time, attends, weather);
- Plan the route to be visited (in case it is not a spontaneous visit), to save time, and prepare information that can be consulted during the course to feed the debate and discussions;
- Give a title to the task, for example: “Discover our streets and co-produce a shared vision”;
- Material: maps in scale 1/50 in A4 or A3 format. Since the area is very large, it should be fractionated; card with structured questions to note the answers; maps for residents (when so decided); a clipboard to take notes on the fiche.
Step 2 – During the activity
- If the route is planned by the researcher, ask the participants to add their parallel paths (when compatible with the objective);
- If the route is not planned by the researcher, ask the participants what places they would like to present/visit and plan the best route before starting. Route deviations are acceptable;
- Before starting the tour, making an introductory meeting to inform the participants and clarify doubts about i) objectives; ii) benefits for residents; iii) on the registration of comments, photos and other observations;
- Suggested questions to motivate the discussion: What do you like in this place? What could work better or different? (eg, lighting, green spaces, connections between neighbourhoods, pedestrian paths, etc.) Why? How do people use the square/garden/street/outer space of the neighbourhood? What usually happens in the square / in the garden / in the street / outer space of the neighbourhood? Where do you live? (when applicable); 53
- Observations (about the place, about the participants’ comments, etc): make photographs to illustrate questions and answers; you can join the group at the end of the walkthrough to share the results;
- The role of the researcher: there may be a critical distancing, in which the researcher merely notes the results provided by the residents, without resorting to their own considerations of the place; OR there may be a critical positioning, in which the researcher also notes his reactions and emotions about the place.
-
1
Step 1 - Before the walkthrough
- Define the conduct of the researchers (see the role of the researcher);
- Prepare a work plan that explains who does what, when and where (eg which researcher conducts the questions and who is responsible for the photographs);
- Define whether the group will take researchers onsite spontaneously or whether the visit will be guided by questions from the researcher’s questions;
- In the latter case, define the places to be visited and the questionnaire to be applied;
- Search on the place to be visited to help in the elaboration of the questions, in the contextualization and – perception of residentes’ emotions and feelings;
- Groups up to 10 people;
- Define the time the visit may take;
- Check to visit limitations and impediments (dates, time, attends, weather);
- Plan the route to be visited (in case it is not a spontaneous visit), to save time, and prepare information that can be consulted during the course to feed the debate and discussions;
- Give a title to the task, for example: “Discover our streets and co-produce a shared vision”;
- Material: maps in scale 1/50 in A4 or A3 format. Since the area is very large, it should be fractionated; card with structured questions to note the answers; maps for residents (when so decided); a clipboard to take notes on the fiche.
-
2
Step 2 - During the activity
- If the route is planned by the researcher, ask the participants to add their parallel paths (when compatible with the objective);
- If the route is not planned by the researcher, ask the participants what places they would like to present/visit and plan the best route before starting. Route deviations are acceptable;
- Before starting the tour, making an introductory meeting to inform the participants and clarify doubts about i) objectives; ii) benefits for residents; iii) on the registration of comments, photos and other observations;
- Suggested questions to motivate the discussion: What do you like in this place? What could work better or different? (eg, lighting, green spaces, connections between neighbourhoods, pedestrian paths, etc.) Why? How do people use the square/garden/street/outer space of the neighbourhood? What usually happens in the square / in the garden / in the street / outer space of the neighbourhood? Where do you live? (when applicable); 53
- Observations (about the place, about the participants’ comments, etc): make photographs to illustrate questions and answers; you can join the group at the end of the walkthrough to share the results;
- The role of the researcher: there may be a critical distancing, in which the researcher merely notes the results provided by the residents, without resorting to their own considerations of the place; OR there may be a critical positioning, in which the researcher also notes his reactions and emotions about the place.
-
3
Step 3 - Analysing results
- They must be placed in a matrix, with the map, photographs and comments;
- Record the words, avoid making interpretations;
- Check the frequency of topics covered and connection to spaces;
- The result can be checked in graphic form for better visualization of recurring themes.
-
4
Step 4 - Reporting results
- Write a report following URBiNAT template (including purpose, process, outcomes and findings) – it is already included in the analysis template;
- Schedule a meeting to discuss results (highlighting main themes, issues, problems, etc, that arose in the session);
- Discuss how to proceed for the next steps with the community, especially for NBS selection (applying the NBS in situ protocol).